

Now I’m no audiophile but after taking a Tesla for a drive, then getting back into my VW Tiguan, I knew something had to be done. Was I to spend $60,000 on a new car or couple of hundred on building a new Vehicle Entertainment System (VES)? I didn’t have $60K lying around, so the proverbial thinking hat was placed upon my head.
Like most challenges I take on, I consider the difficulty, the time, cost, and whether new skills gained will be useful.
So for VES challenge, I wanted to rip out my old VES and replace it with my very own custom designed system. I wanted something modern, extendable and aesthetically pleasing.
The VES would obviously need to play sound. Because my VW already had speakers, then the VES would need an amplifier (amp) to drive the power to the speakers. I had to decide on the source of the sound, would it be radio or streamed music from the Internet. I don’t like radio because of the commercials and limited content. To have Internet streamed music required a networked device. I investigated using low powered single board devices like Raspberry Pi or Beagle Bone. After adding extra components to these, like an amp, wifi, and display, I figured I could achieve the same if not better results, by placing a single Bluetooth enabled amp into the VES and have a cell phone running Android as the media source, with Internet and display. I managed to source an amp that would do the task and tested it with a 12v DC power source. 12v DC being the type of power you get from a vehicle.
So I had a phone as a sound source and the amp to power the speakers.
The next challenge was to design an enclosure. The enclosure needed to house the amp, an ignition on switch (to detect when the key is in the on position for power), and mount the cell phone. Why mount the phone, when off the shelf cradles can be purchased. My experiences with car phone cradles is that you’re limited to where you can place them, and the phone still needs to be tethered to a power source.
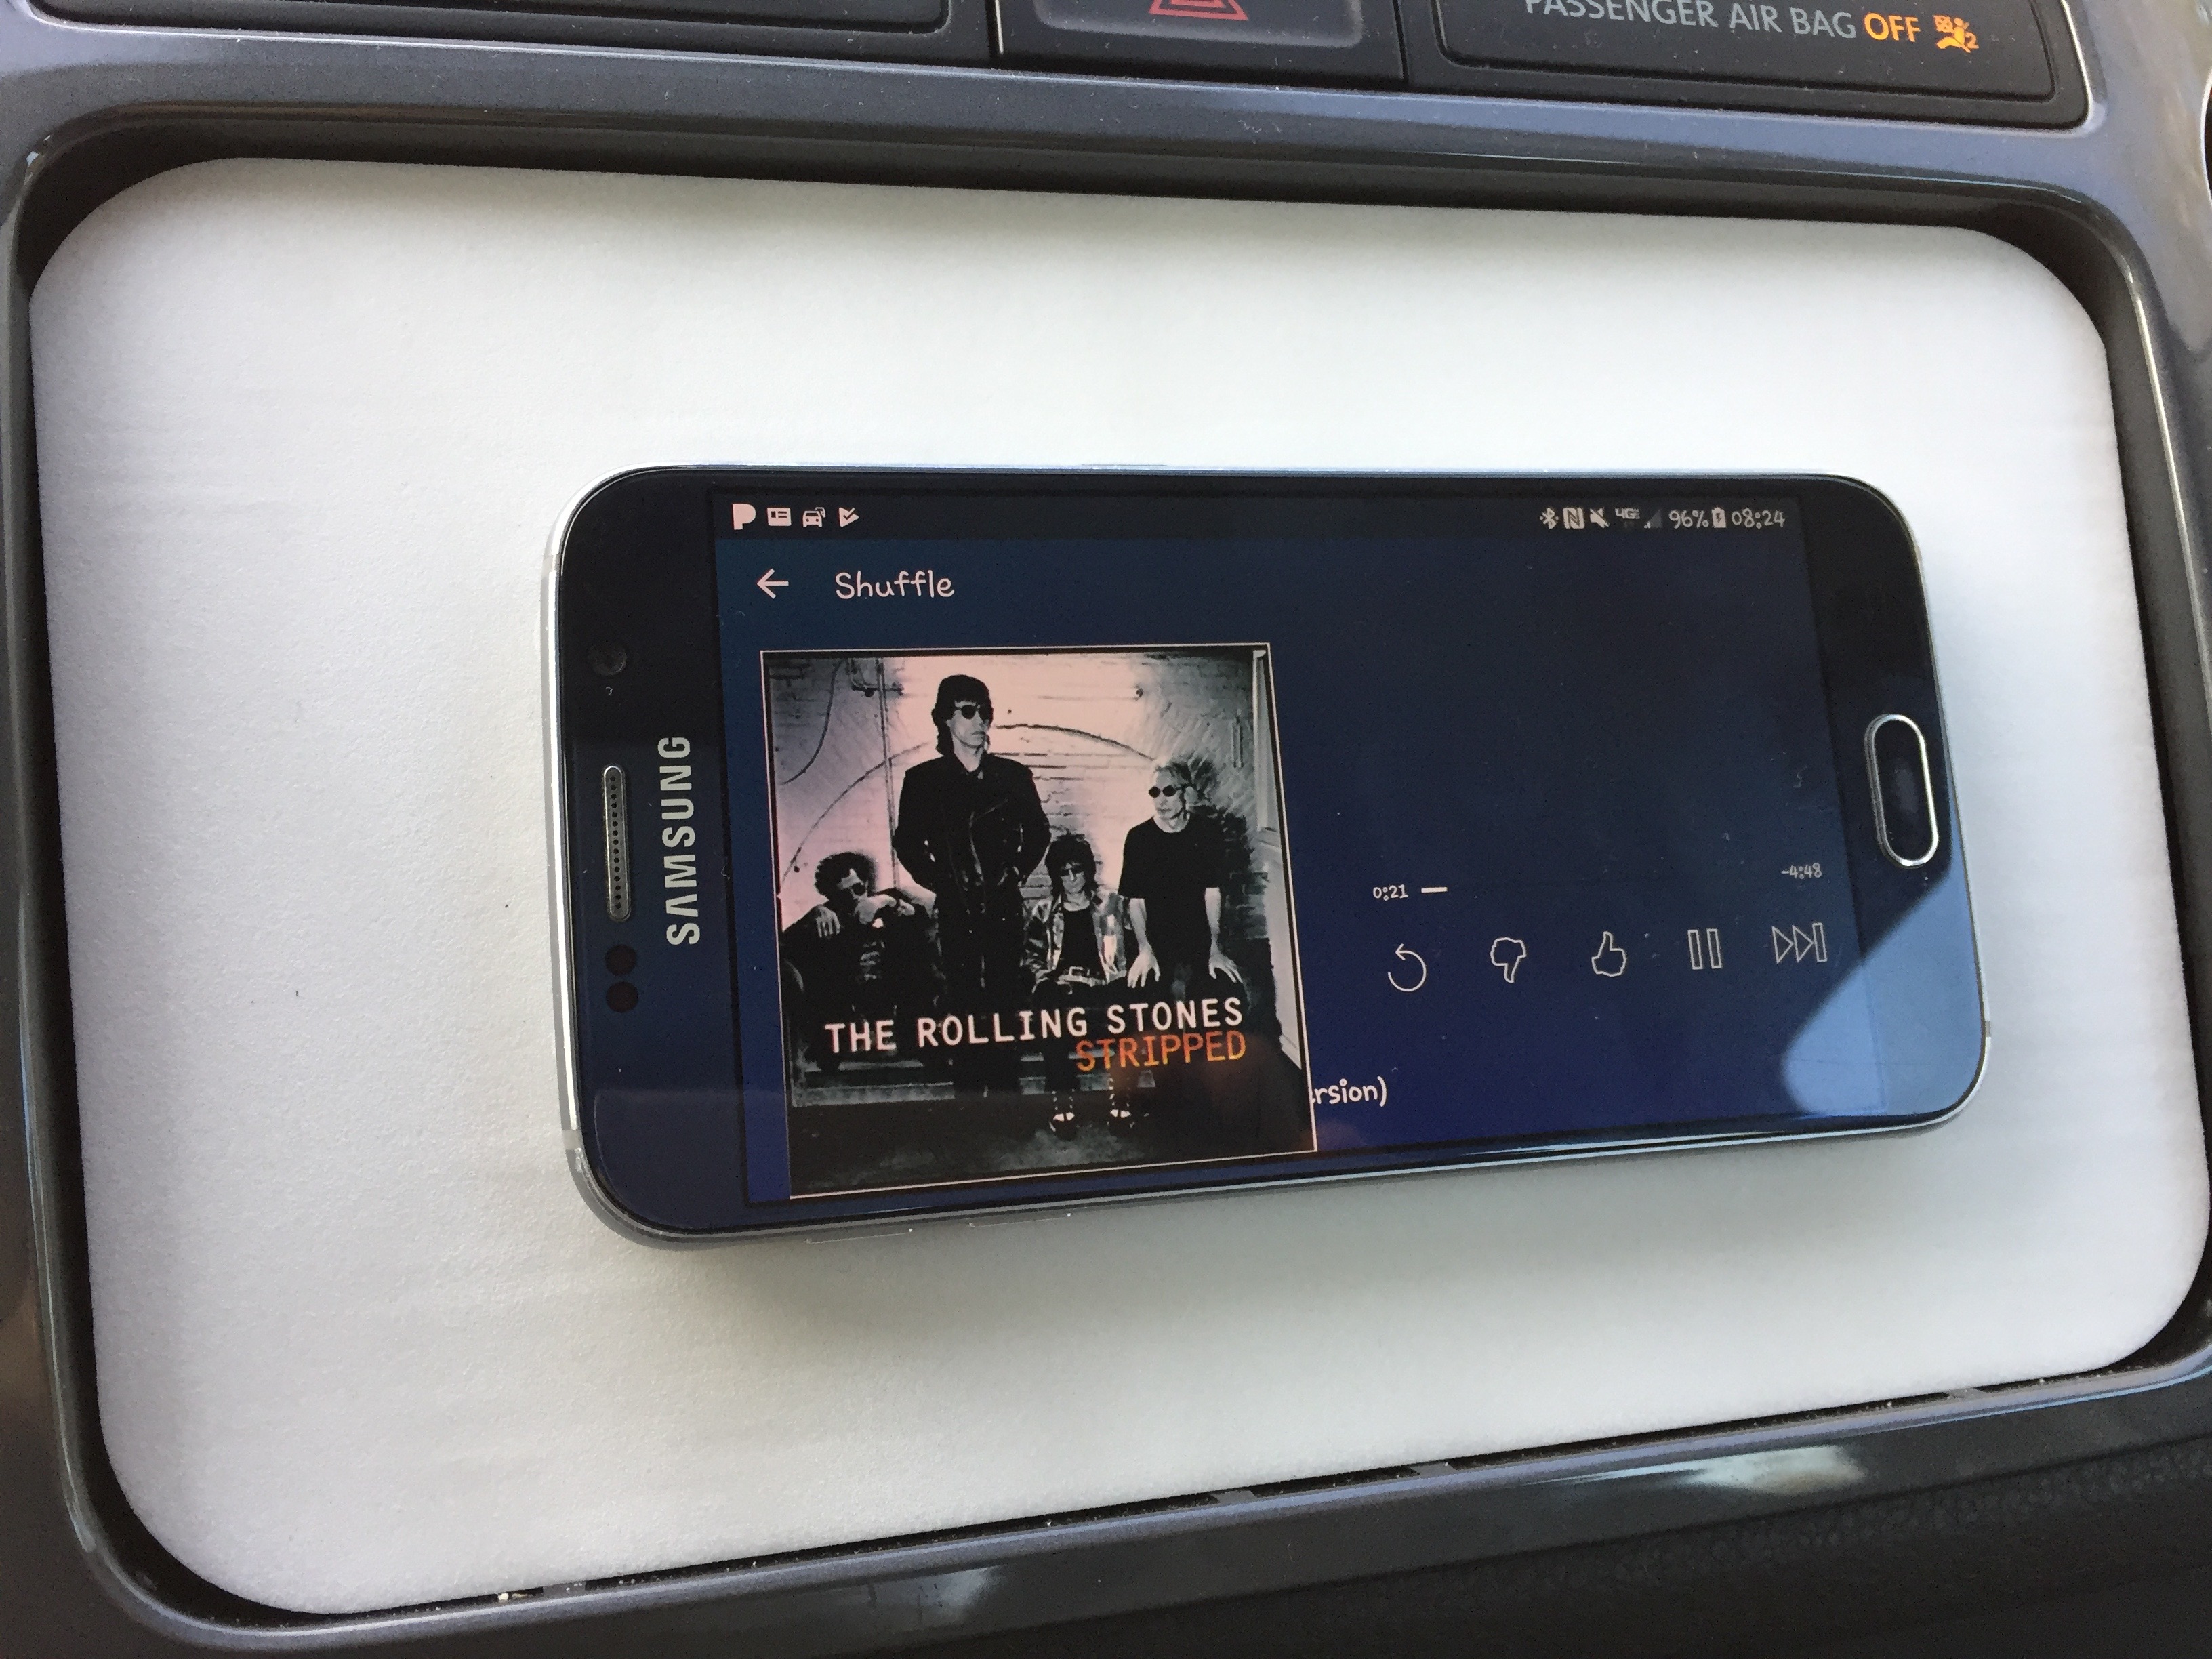
My solution for the VES enclosure was to design a custom enclosure, and 3D print it. I had always wanted to experiment with 3D printing and this was a perfect opportunity. To solve the problem of mounting the phone and providing power to it, I sourced some powerful Neodymium magnets, which would hold the phone to the enclosure and a Qi inductive base station board to wirelessly power the phone.
My main concern with attaching the phone with magnets and powering it with induction, had to be the electromagnetic affects of the magnets on the charging capabilities. I created a separate experiment to test the affects and the phone was able to obtain sufficient power and not over heat.
Designing the enclosure was interesting, to say the least. I had two challenges to over come, measurement and material.
The problem of designing a new enclosure to replace the old one was solved by taking precision measurements using a digital caliper of the old VES’s dimensions and creating a simple replica in 3D CAD software. Once I had the basic dimensions recorded, I was able to 3D print rudimentary prototypes to check it would fit. This was an iterative process of design, and improve.
When it came to the material of the enclosure, I had no idea what I had gotten myself into. Modern hobbyist 3D printers nowadays can support multiple plastic materials. What I didn’t know was that the more durable the plastic is to temperatures, the more difficult they are to print.
After doing some research online, it appeared that Polylactic Acid (PLA) and Polyethylene Terephthalate Glycol-modified (PETG) would be the easiest to print but not resistant to the kind of temperatures expected inside a vehicle in California. Acrylonitrile Butadiene Styrene (ABS) would be the most difficult to print but suited for the environment.
I created experiments by printing prototypes and exposing them to the inside of my vehicle. This gave me conclusive results that ABS was the way to go.
The project took me around 3 months to complete on occasional weekends. I can now enjoy streamed music in my car, with voice recognition, SatNav, and no dangling wires.
Photos


Access to enclosure STL from Tinkercad
List of materials
- TSA8498 – 4 x 100 Watt Class D Bluetooth 4.0 Audio Amplifier Board
- GEREE DC DC Converter Buck Module 12V to 5V 3A USB Output Step Down Voltage Regulator Charge
- StarTech.com 0.5m 1m M/M Micro USB Cable Cord
- Neiko 01409A Electronic Digital Caliper
- 3 Coils Qi Wireless Charger PCBA Circuit Board Coil Charger
Coming up … Beagle Bone and CanBus interfacing in the VES.
